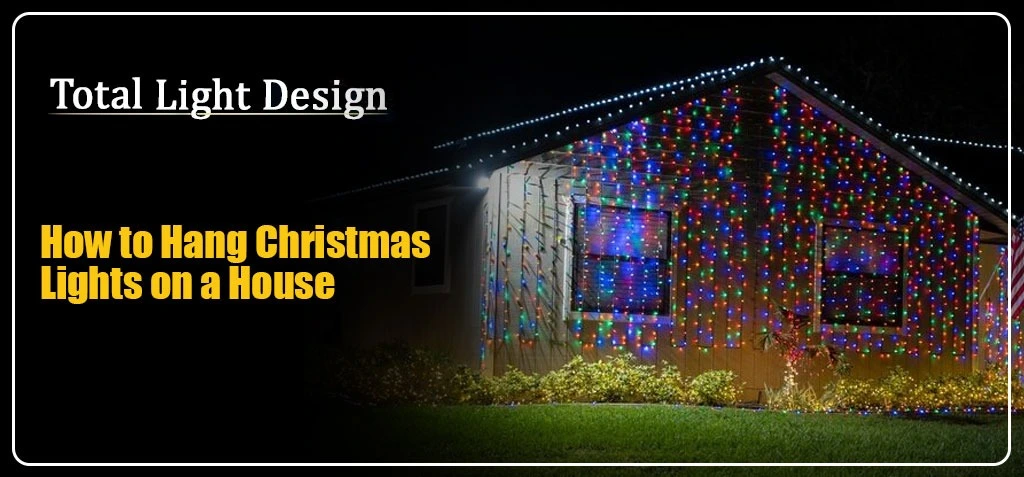
It's a cold, wet Saturday in November. You're on a ladder. A knotted mess of lights sits in your hand. Half the bulbs are dead. And the neighbor's house already glows like a postcard.
Sound familiar?
Here's the good news. A stunning display isn't luck. It's a plan. Pros follow the same steps every time, and you can too.
Many people ask, "How do you hang Christmas lights on your house without damaging it?" Not sure how to put up Christmas lights the pro way? This guide covers it all. You'll learn what to buy, how to measure, and how to stay safe. You'll also pick up a few tricks from the team at Total Light Design.
Let's get your house glowing.
Why Planning Beats Winging It
Most light disasters start the same way. Someone grabs a ladder and starts stapling. An hour later, the strands are uneven, the cords are short, and the breaker trips.
Learning how to put Christmas lights on a house starts with a sketch, not a staple gun. The best way to put Christmas lights on house rooflines is simple: clips plus a plan.
If you remember one thing, remember this: measure first, hang second.
By the way, you may search for it as "how to do Christmas lights" or "how to Xmas lights." The answer is the same either way. Plan, clip, test, and stay safe.
Step 1: Choose Your Look
Before you buy anything, walk across the street. Look at your home like a stranger would.
Ask yourself three quick questions:
- Which lines define my house? (Roofline, gutters, and porch are the big ones.)
- What do I want to highlight? (A door, a tree, or a window.)
- How bright should it be? (Soft and cozy, or full holiday show.)
Then pick a style. It shapes how to put Christmas lights on house gutters, eaves, and porches:
- Mini lights are small and tidy. They suit gutters, railings, and shrubs.
- C9 bulbs are big, bold, and classic. They shine along a roofline.
- Icicle lights drop from the eaves like frozen drips.
- Net lights cover bushes fast. Just spread them out and plug in.
Warm white feels elegant. Multicolor feels playful. Either works. Just stick to one main look.
Pro tip: choose LEDs. They use less power and run cooler. They also let you link more strands on one outlet.
Step 2: Gather Your Gear
The right tools make the job smooth and safe. Here's your checklist:
- Outdoor-rated lights (look for "UL listed" on the box)
- Outdoor extension cords
- Light clips made for your surface
- A sturdy ladder with a stabilizer
- A tape measure, gloves, and non-slip shoes
- A tool belt, so your hands stay free
- A timer or smart plug
- A GFCI outlet or portable GFCI adapter
- Spare bulbs and fuses
Never attach Christmas lights to house shingles with nails. Skip staples and duct tape too. They damage siding, shingles, and wires. Clips cost a few dollars and protect your home.
Step 3: Measure and Count
This step trips up lots of beginners. It's easy once you see it.
- Measure each line you want to light: gutter, roof edge, porch, and so on.
- Add those numbers together.
- Add 10 percent for corners and slack.
- Divide by the length of one strand.
That's how many strands you need.
Here's an example. Your front roofline is 40 feet. Add 10 percent and you get 44 feet. If each strand is 25 feet, you need two strands.
Next, note where each outdoor outlet sits. Your cords must reach without crossing walkways. Write it all down. Then buy once.
Step 4: Test Every Strand First
Here's a lesson almost everyone learns the hard way. Test your lights on the ground first.
Wondering how to set up Christmas lights fast? Start here. Plug in each strand. Look for dead bulbs, frayed wires, and cracked sockets. Swap bad bulbs. Toss damaged strands.
Doing this in a warm garage beats doing it on a cold roof.
Also read the label. It tells you how many strands you can safely connect end to end. Never go over that number. Too many strands can overheat the wires.
Step 5: Pick the Right Clips
Here is where most guides stay vague. So let's get specific.
How do you attach Christmas lights to your house without nails? The best way to attach Christmas lights to the house is a clip made for each surface. Here's a quick guide on how to attach lights to house surfaces of every type:
| Surface | Best clip type |
|---|---|
| Gutters | Gutter hooks that snap onto the lip |
| Shingle edge | Shingle tabs that slide under, no nails |
| Siding and trim | Siding clips that hook over the edge |
| Brick or stucco | Brick clips with no adhesive |
| Soffits and fascia | Low-profile screw-in hooks |
Wondering how to fasten Christmas lights to house brick? Use a brick clip. It grips the edge and leaves no holes.
On a roofline, place one clip about every 12 inches. Go closer in windy spots. Space them evenly so the line looks straight from the curb.
Step 6: Set Up Your Ladder Safely
Safety first. A pretty house is not worth a trip to the ER.
Learning how to hang Christmas lights on your house safely starts with the ladder. Follow these rules every time:
- Set the ladder on flat, firm ground.
- Use the "4 to 1" rule. For every 4 feet of height, move the base 1 foot from the wall.
- Keep three points of contact.
- Never lean to reach. Climb down and move the ladder.
- Stay far away from power lines.
- Skip rain, ice, and strong wind.
- Ask a helper to hold the base.
Installing Christmas lights on house peaks takes extra care. If your home has three stories or a tricky roof, call a pro. No display is worth a fall.
Step 7: Start Hanging
Now the fun part. Here's how to put lights on house rooflines in the right order.
- Start at the power source. Plug in near the outlet. Work away from it.
- Clip as you go. Attach each clip first. Then press the lights in.
- Work in sections. Finish one line before moving the ladder.
- Face bulbs outward. Point them toward the street, not the wall.
- Turn corners gently. Putting Christmas lights on house corners takes care. Don't bend the wire sharply. Add a clip right at the turn.
- Test as you go. Plug in after each section.
Prefer to skip the climb? Many people call a crew to install Christmas lights on house exteriors in a single day.
Step 8: Handle Power Like a Pro
This is the part most guides skip. It matters most.
A standard home circuit is often rated for 15 amps. For safety, stay under 80 percent of that. That's about 12 amps, or 1,440 watts.
Here's what to do:
- Use GFCI outlets. They cut power if moisture sneaks in.
- Add up the watts. The wattage is on each box.
- Skip daisy chains. Use one heavy-duty outdoor cord per run.
- Lift the plugs. Keep connections off wet ground. Use weatherproof covers.
- Make a drip loop. Let each cord dip below the outlet before it rises. Water drips off instead of running in.
- Use a timer. Lights on at dusk, off at bedtime.
Not sure about your wiring? Ask an electrician. It's quick and worth it.
Hanging Lights in Wet Weather: A Portland Note
Rain doesn't have to ruin your holiday glow. But it changes the rules.
In the Pacific Northwest, moss, damp wood, and steady drizzle are part of daily life. Hanging Christmas lights on a house in bad weather is the top reason for slips. Here are a few local tips:
- Wait for a dry window. Never hang Christmas lights on house roofs when they're wet.
- Choose sealed LEDs. Look for strong outdoor ratings.
- Pick clips that grip. Wind and rain loosen cheap ones.
- Clear the moss. A mossy gutter is slick.
- Cover every plug. Moisture is the enemy.
Need help beating the weather? Many homeowners search for Christmas Lights Installation in Portland because a trained crew works faster and safer in the rain.
Add Finishing Touches
Once the main lines are up, walk back to the street. Look for gaps. Is the house balanced?
Then add a few extras:
- Wrap porch posts with spiral strands.
- Outline windows with one warm line.
- Light up shrubs with net lights.
- Frame the front door to draw the eye.
Don't overdo it. Give the eye one star, and let the rest support it.
Bonus for indoors: curious how to hang Christmas lights in house rooms? Use small adhesive hooks along window frames or shelves. They hold well and peel off clean.
Take Them Down the Smart Way
How you remove lights affects next year's display.
- Pick a dry day after the holidays.
- Remove lights in reverse order.
- Gently unclip. Don't yank the wire.
- Wind each strand around cardboard or a spool.
- Label each bin, like "Front Roof" or "Porch."
- Store in a cool, dry place.
Next November, the lights go up in half the time.
When to Call the Pros
DIY is fun. But some jobs belong to experts. Knowing how to install Christmas lights on a house also means knowing your limits. Call a pro if:
- Your home has steep or tall rooflines
- You want a custom, large-scale design
- You're short on time
- You'd rather stay off the ladder
- You want takedown and storage handled for you
Whether you ask how to put up Xmas lights on house trim or how to put Xmas lights on house gables, the safest answer is often a trained crew.
At Total Light Design, we handle the whole job. We plan the layout, supply quality lights, install them safely, and take them down when the season ends. You get a gorgeous home without the ladder.
Ready to skip the stress? Contact Total Light Design today for a free quote and make your house the star of the street.
Final Thoughts
A great display takes four things: a plan, the right gear, safe habits, and patience. Measure first. Test every strand. Use clips, not nails. Respect your power limits and the weather.
Do those things, and your home will shine all season.
And if you'd rather sip cocoa while someone else handles the ladder, Total Light Design is ready to help.
Happy decorating!