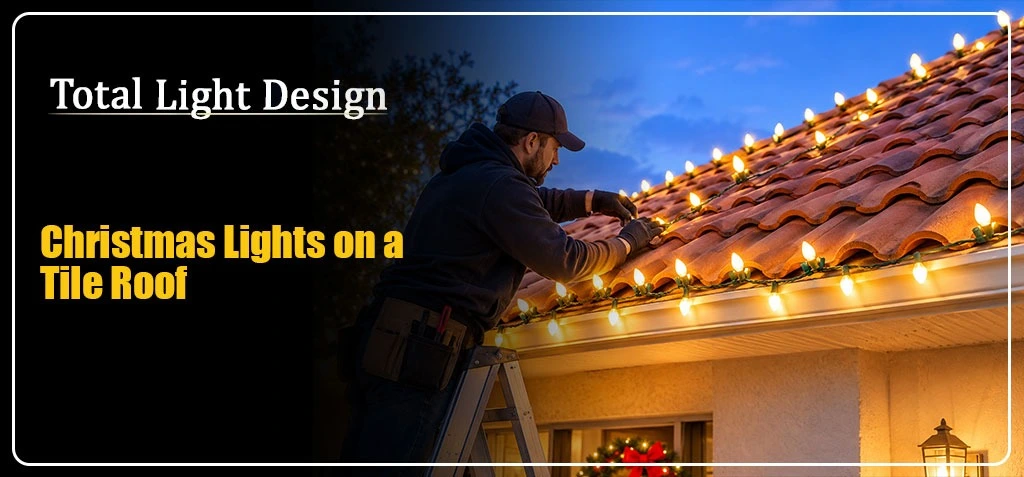
You flip the switch. Your roofline glows. It looks perfect.
Then you spot it. A cracked tile, right where you set a clip.
That one crack can turn into a costly repair. It can also let water in all winter.
Tile roofs look stunning with holiday lights. But they are brittle, curved and slippery. They need a different plan than shingles.
Here is how to hang christmas lights on a tile roof the safe way. No nails. No cracks. No leaks.
At Total Light Design, we light up homes every season. This guide shares what works, what fails and when to hand the ladder to a pro.
Let's dive in.
Why Tile Roofs Are Tricky
Tile looks tough. It is not.
Clay and concrete tiles handle weather well. But they crack under sudden pressure. A hammer tap, a heavy step or a tight clip can snap one.
Here is what makes them harder than shingles:
- Curved shapes. Standard clips do not grip well.
- Brittle material. Point pressure causes cracks.
- Hidden water paths. A nail hole can leak into the roof deck.
- Slick surfaces. Dew and moss make footing risky.
One more thing. Some roof warranties do not cover damage from added fasteners. Check yours before you start.
Know Your Tile Type First
Not all tiles are the same. Your clip choice depends on the shape.
- Barrel (Mission) tiles: These have a rounded, wavy edge. Use clips that hook over the lower lip.
- S-tiles: These have a gentle wave. Clips slide under the edge of the raised curve.
- Flat concrete tiles: These are smooth and thick. Use clips made for flat edges.
- Clay vs. concrete: Clay is lighter and snaps more easily. Concrete is heavier but can chip at the edges.
Not sure what you have? Look at the roof edge from the ground. When in doubt, ask a roofer.
What You Need Before You Start
Gather everything first. Fewer trips up the ladder means fewer risks.
- Tile-specific light clips (no nails, no staples)
- Outdoor-rated LED lights (C9, C7, mini or icicle)
- Outdoor extension cords
- A GFCI outlet or adapter
- A weather-resistant timer
- A sturdy extension ladder with a stabilizer
- Soft-soled shoes with good grip
- A helper on the ground
- A tape measure and a notepad
Choose LEDs. They run cool, use less power and weigh less than old incandescent strands. Lighter strands put less stress on clips.
Safety First: Portland Weather and Roof Risks
Portland winters are wet. Moss and damp tiles can be as slick as ice.
Follow these rules:
- Never climb in rain, frost, fog or high wind.
- Pick a dry, bright day. Mid-afternoon works best.
- Set your ladder on firm, level ground.
- Keep three points of contact at all times.
- Work from the ladder at the roof edge. Stay off the tiles if you can.
- Never work alone.
- Keep ladders and cords away from power lines.
No light display is worth a fall.
Check your electrics too. Plug into a GFCI outlet. Do not link more strands than the box allows. Overloaded strands overheat.
Step-by-Step: How to Attach Christmas Lights to Tile Roof
Take it slow. Here is the full process.
Step 1: Plan your layout. Measure the roofline. Add 10% for slack and corners. Mark where each strand starts and ends. Decide where the power cord will run.
Step 2: Test every strand on the ground. Plug it in. Replace dead bulbs. Toss frayed cords. Fixing problems on the roof is dangerous.
Step 3: Pre-clip your lights. Snap the bulbs into the clips while you stand on firm ground. Space them evenly. Pre-clipping means less time on the ladder.
Step 4: Set up the ladder. Place it at a 4-to-1 angle. That is one foot out for every four feet up. Ask your helper to hold the base.
Step 5: Attach clips to the tile edge. Hook each clip over the tile's lower lip. Press gently until it seats. Never hammer or drill. If a clip needs force, it is the wrong size.
Step 6: Leave a little slack. Do not pull lights tight. Tiles shift with temperature. Slack protects both cords and tiles.
Step 7: Route the cord with care. Run the power cord along the edge. Do not pinch it under a tile. Make a small drip loop near each plug so water drips off.
Step 8: Test again from the ground. Turn the lights on. Walk back to the street. Fix gaps and crooked lines. Then set the timer.
Many homeowners ask how to hang christmas lights on tile roof ridges and peaks. Our honest answer: leave them to pros. Ridges need roof access, and that is where most falls and cracks happen.
Which Fasteners Are Safe for Tile?
Not every fastener is tile-friendly. For christmas lights on roof tiles, only a few methods are safe.
| Method | Safe for tile? | Notes |
|---|---|---|
| Tile-specific clips | Yes | Best choice. Reusable and no holes. |
| Gutter clips | Yes | Good if your gutters are strong. |
| Adhesive hooks | Risky | Often fail in rain and cold. |
| Nails or staples | No | Crack tile and cause leaks. |
| Screws or drilling | No | Ruin the waterproofing. |
| Zip ties | Limited | Fine for wiring on trim, not for tile. |
Common Mistakes to Avoid
Even careful homeowners slip up. Watch for these:
- Walking on tiles. Pros step only on supported spots. If you are unsure, do not walk on the roof.
- Using nails or staples. They crack tile and open leaks.
- Buying too few lights. Measure first. Run short and you will be back on the ladder.
- Pulling strands tight. Tight cords tug clips loose.
- Overloading outlets. Check the wattage on every box.
- Hanging in wet weather. It is the fastest way to slip.
- Waiting too long. Pro calendars fill fast in November and December.
DIY or Hire a Pro?
Some homes are great for DIY. Others are not.
DIY may work if:
- Your home is one story
- The ladder reaches the eave safely
- The roofline is simple
- You have the right clips for your tile
Call a pro if:
- The roof is steep or two stories tall
- You want ridge or peak lighting
- Your tile is old or fragile
- Rain or moss is a problem
- You are short on time
Pros bring the right clips, safety gear and commercial-grade lights. They also come back to take everything down.
Looking for Christmas Lights Installation in Portland? Total Light Design plans, installs, maintains and removes your display. We use tile-safe methods, so your roof stays crack-free.
Ready for a stress-free season? Contact Total Light Design today and request a quote.
Take-Down and Storage Tips
The season ends. Do it right, and next year is easy.
- Remove lights on a dry day.
- Unclip gently. Never yank.
- Coil each strand around a cardboard piece or reel.
- Label each strand by roof section.
- Store in a dry bin.
- Check your tiles for chips or shifted pieces.
Labeled strands cut setup time next year.
Final Thoughts
A glowing roof should bring joy, not repairs.
Use tile-specific clips. Skip the nails. Stay off wet roofs. Test everything on the ground. And know when to call for help.
Want a bright display without the risk? Total Light Design is ready to help.