Channel Installation Guide for Trimlight Products: Complete Washington Citizen's Guide
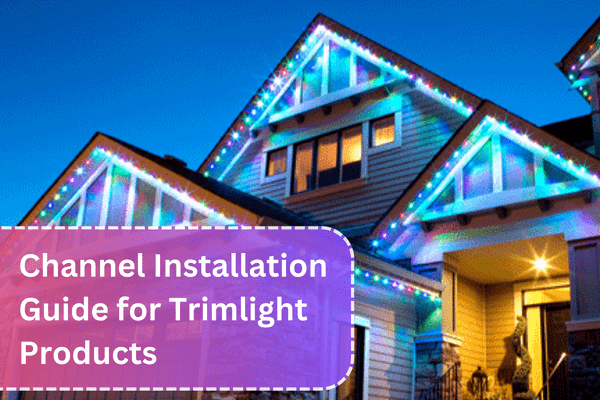
When it comes to professional holiday Christmas lights installation in Washington, Portland, or Vancouver, Trimlight products are a popular choice for their versatility and durability. Understanding the channel installation options and following a proper installation guide ensures that your outdoor decorative lighting installation will be both beautiful and long-lasting. Whether you're a DIY enthusiast or considering professional lights installation, this comprehensive guide will illuminate the process of installing Trimlight products.
Understanding Trimlight Products
Before diving into installation options, let's briefly explore what makes Trimlight products stand out:
- Permanent installation with year-round functionality
- Color-changing LED technology
- Smartphone app control for customization
- Weather-resistant design for lasting durability
Channel Installation Options for Trimlight Products
Trimlight offers various channel options to suit different architectural styles and installation needs:
1. Standard Channels
- Ideal for straight runs along rooflines, eaves, and fascia
- Available in various colors to match your home's exterior
- Provides a clean, professional look for custom Christmas light installation in Portland and beyond
2. Flex Channels
- Perfect for curved surfaces or rounded architectural features
- Allows for seamless installation on non-linear areas
- Ensures a uniform appearance for complex designs
3. Corner Channels
- Designed for crisp, clean transitions around corners
- Eliminates the need for bending standard channels
- Creates a polished look for professional holiday lights installation in Washington
4. Specialty Channels
- Custom options for unique architectural features
- Includes solutions for dormers, peaks, and other challenging areas
- Enables truly customized outdoor decorative lighting installations
Installation Guide for Trimlight Products
Follow these steps for a successful Trimlight installation:
1. Planning and Preparation
- Measure the areas where you'll install the lights
- Determine the appropriate channel types for each section
- Ensure you have all necessary tools and materials
2. Channel Installation
Follow these guidelines based on the type of channels:
a. For Standard and Flex Channels:
- Clean the installation surface thoroughly
- Apply a bead of exterior-grade adhesive to the channel
- Press the channel firmly into place, ensuring proper alignment
- Secure with screws every 12-18 inches for added stability
b. For Corner Channels:
- Position corner channels at each turn or angle
- Secure using adhesive and screws as with standard channels
- Ensure a tight fit with adjoining straight runs
c. For Specialty Channels:
- Follow manufacturer's specific instructions for each custom piece
- Use appropriate fasteners and adhesives as recommended
3. LED Strip Installation
- Carefully unroll the LED strip, avoiding twists or kinks
- Begin insertion at one end of the channel, ensuring proper orientation
- Gently press the strip into the channel, moving along its length
- Use channel covers or diffusers if provided for added protection
4. Power Supply and Controller Installation
- Mount the power supply in a protected area, such as under an eave
- Install the controller in an accessible location for easy maintenance of christmas lights.
- Ensure all connections are waterproof and secure
5. Testing and Programming
- Power on the system to check for any faulty connections or LEDs
- Program the controller according to Trimlight's instructions
- Test all color changes and patterns to ensure proper functionality
Professional vs. DIY Installation
While DIY installation is possible, professional lights installation offers several advantages:
- Expertise in handling Trimlight products
- Access to specialized tools and equipment
- Knowledge of local building codes and regulations
- Time-saving and stress-reducing for complex installations
Professional holiday christmas lights installation services in Washington, Portland, and Vancouver are well-versed in Trimlight systems and can ensure a flawless installation.
Maintenance Tips for Trimlight Installations
To keep your Trimlight system looking its best:
- Regularly inspect channels and LEDs for any signs of damage
- Clean channels and lights with a soft, damp cloth as needed
- Check and tighten any loose connections annually
- Update controller software when available for new features
Creative Ideas for Trimlight Usage
Trimlight's versatility allows for various applications:
- Year-round accent lighting for architectural features
- Seasonal displays for holidays beyond Christmas
- Mood lighting for outdoor entertainment areas
- Safety lighting for pathways and driveways
Channel installation options for Trimlight products offer a versatile solution for permanent, customizable outdoor lighting. By following this installation guide and considering professional assistance, you can achieve stunning results that enhance your property's beauty and functionality year-round.
Whether you're planning a custom Christmas light installation in Portland or a year-round decorative lighting solution in Washington, Trimlight products provide the flexibility and quality needed for a truly impressive display. With proper installation and care, your Trimlight system will continue to illuminate your home beautifully for years to come.
Ready to elevate your outdoor lighting with Trimlight? Consider reaching out to a professional lights installation service to explore how Trimlight products can transform your home's exterior and create a personalized lighting experience that you'll enjoy every day of the year.